These Are Your First Steps

Hello World
Saying hello to the world with a first post. I have seen several slick github.io pages leveraging Jekyll to create modern blogs and websites that look great with seemingly little overhead. Not wanting to deal with SSL certificates, host my own server, or really do anything besides create content, I decided to give Github Pages a try.
Jekyll Blogging - Chirpy Theme
The Jekyll blogging engine seems to take all the hard work out of creating a modern web site. Just select a theme, generate your static web site, and focus on content.
First things first. You need to select a theme. I selected the chirpy Jekyll template as it sports a clean design, light / dark mode, and focuses you on the content.
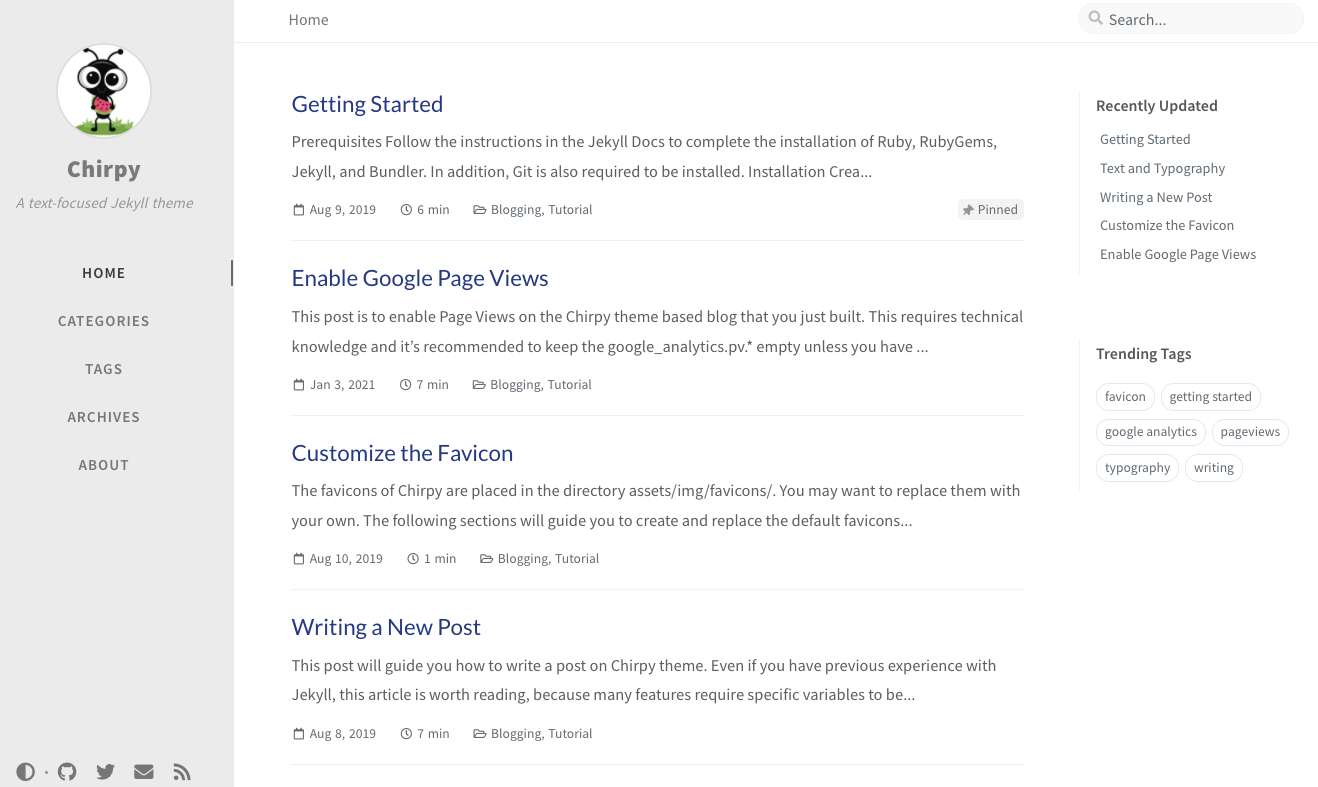
The chirpy theme even has a corresponding starter template (chirpy starter the leverages github templates to kickstart your username.github.io repository (this is where you host your site).
If you prefer another theme, there are plenty to choose from. Check out the list from Jekyll’s theme list or the topic in Github. Github Pages offer you some default themes, but I needed something like the chirpy starter to start to understand how to develop and publish with Jekyll.
Site Development
The development cycle is quite straightforward if you like to be lazy smart and use docker. Jekyll has its own image. No dependencies to install!
Clone your repo:
1
2
$ git clone clearbluejar/clearbluejar.github.io
$ cd clearbluejar.github.io
Then startup docker. The jekyll:jekyll docker image will build your site and host it locally:
1
2
3
4
5
6
7
8
9
10
11
12
13
14
15
16
17
18
19
20
21
22
23
24
25
26
27
28
29
30
$ docker run -it --rm \
    --volume="$PWD:/srv/jekyll" \
    -p 4000:4000 jekyll/jekyll \
    jekyll serve


Fetching gem metadata from https://rubygems.org/.........
Using public_suffix 4.0.6
Using bundler 2.2.24
Using colorator 1.1.0
Using concurrent-ruby 1.1.9

... several line omitted ...

Fetching jekyll-theme-chirpy 5.1.0
Installing jekyll-theme-chirpy 5.1.0
Bundle complete! 7 Gemfile dependencies, 44 gems now installed.
Use `bundle info [gemname]` to see where a bundled gem is installed.
ruby 2.7.1p83 (2020-03-31 revision a0c7c23c9c) [x86_64-linux-musl]
Configuration file: /srv/jekyll/_config.yml
 Theme Config file: /usr/gem/gems/jekyll-theme-chirpy-5.1.0/_config.yml
            Source: /srv/jekyll
       Destination: /srv/jekyll/_site
 Incremental build: disabled. Enable with --incremental
      Generating...
                    done in 4.505 seconds.
 Auto-regeneration: enabled for '/srv/jekyll'
    Server address: http://0.0.0.0:4000/
  Server running... press ctrl-c to stop.
Server address: http://0.0.0.0:4000/
Once it is running, you can visit your site locally at http://localhost:4000.
As you make changes to the site, jekyll will detect them and update them realtime.
1
2
3
Regenerating: 1 file(s) changed at 2022-02-17 08:02:23
                    _posts/2021-02-17-my-new-post.md
                    ...done in 3.214756529 seconds.
Writing A New Post
There is even some tooling to generate a new post. Mostly following the advice from chirpy - Writing a New Post, install Jekyll-Compose and run one of the commands such as:
bundle exec jekyll post "My New Post" --timestamp-format "%Y-%m-%d %H:%M:%S %z"
The post will be available now within _posts:
1
2
3
bash-5.0# bundle exec jekyll post "These Are You First Steps" --timestamp-format "%Y-%m-%d %H:%M:%S %z"
Configuration file: /srv/jekyll/_config.yml
New post created at _posts/2022-02-17-these-are-you-first-steps.md
It will generate the post with some default YAML. Update your _config.yml with specific jekyll-compose settings as suggested:
1
2
3
4
5
6
7
8
jekyll_compose:
  default_front_matter:
    posts:
      description:
      image:
      category: [TOP_CATEGORIE, SUB_CATEGORIE]
      tags: blog
      mermaid: true
The new posts that you create will contain the default YAML front matter as specified by your config.
Deployment
After I created this first post, these were my changes from my original repo:
1
2
3
4
5
6
7
8
9
10
11
12
13
14
15

$ clearbluejar.github.io % git status
On branch main
Your branch is up to date with 'origin/main'.

Changes not staged for commit:
  (use "git add <file>..." to update what will be committed)
  (use "git restore <file>..." to discard changes in working directory)

Untracked files:
  (use "git add <file>..." to include in what will be committed)
    Gemfile.lock
  _posts/2022-02-17-these-are-your-first-steps.md
  assets/img/
A single file to post and the images I am linking within this article. Once you are ready, you simply need to commit your changes to master. Once these changes are committed, an automated Action will be performed on Github that will create a branch gh-pages (if it doesn’t exist). It leverages this workflow. Mostly, this workflow is just calling deploy.sh on the repository.
Once the workflow finished, and you have already change your github pages settings to point to your new branch gh-pages, it will be available clearbluejar.github.io/.
Workflow Summary
Hope this helps. You can create, host, and establish a workflow for blog writing pretty quickly leveraging these technologies.
graph TD
    A[fa:fa-user  Create Github Pages Repo]  -->|Fork Jekyll Theme template to username.github.io| B[Create a New Post]
    B --> C[fa:fa-keyboard Add Content]
    C --> D{fa:fa-camera-retro Test Site with jekyll/jekyll docker image}
    D --> | Make Edits | C
    D --> | Done Editing | E[Finish, Commit, And Deploy Post]
    E --> F[fa:fa-twitter Tweet link to let others know you are awesome]
    F --> | Repeat | B
Headline Photo by Jukan Tateisi on Unsplash